⏱️ Quickstart
This guide will walk you through creating and deploying a multiplayer game with Godot 4.2.
If you are using Godot 4.1/4.0/3.x, please be aware that some details may be different.
Step 0: Create a new Godot project
For this tutorial, start a new Godot project.
Step 1: Set up the Rivet Godot plugin
The Rivet Godot plugin is available
to install via gd-plug or manually from the GitHub repo.
Go to the Godot Asset Library, search for "Rivet", and install the plugin.
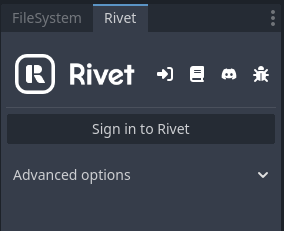
Once the plugin is open, sign in to link your game to Rivet.

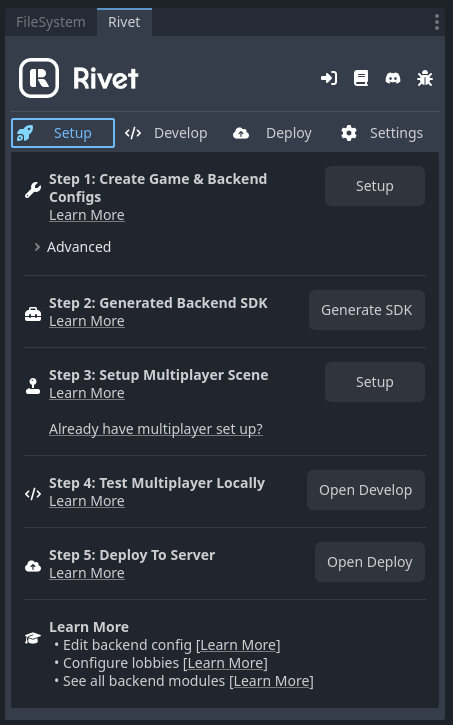
Next, follow the steps 1-3 in the "Setup" tab to setup a basic multiplayer game.
If you want to learn more about what these steps do, check out the Setup Walkthrough.

Step 2: Testing Locally
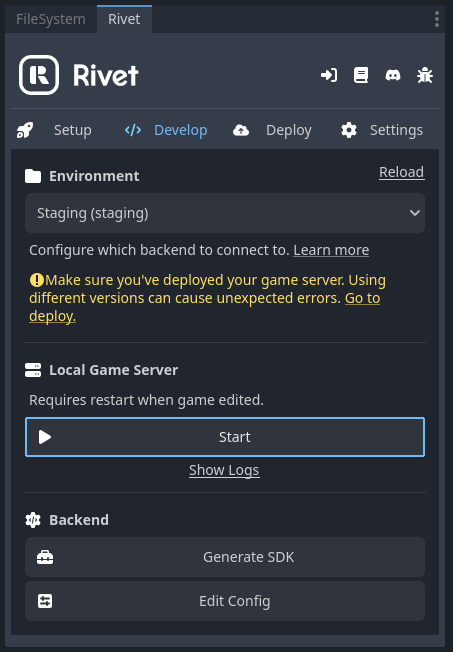
Once you reach Step 4 in the plugin "Setup" tab, you'll be brought to the "Develop" tab. From here, start a local Godot game server by clicking "Start" under the "Local Game Server" section.

Now that the Godot server is running, start
Step 3: Deploying to Rivet
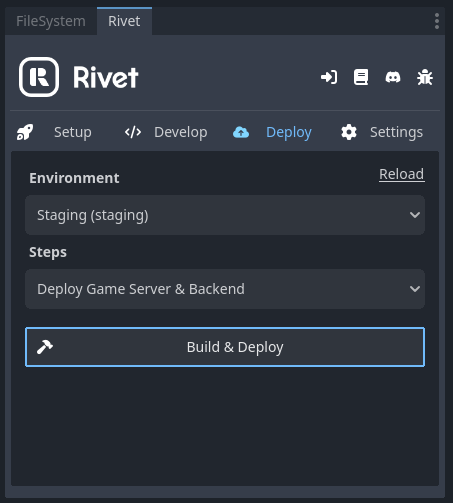
From the "Deploy" tab, select "Staging" and click "Build & Deploy".

Step 4: Test your multiplayer game
After deploying, go back to the "Develop" tab and see that the environment is set to the same environment you just deployed to (should be "Staging"). Press "Run Project" in the top right of the Godot editor. You are now connected over the internet through Rivet to your game!